
Tip & Trick
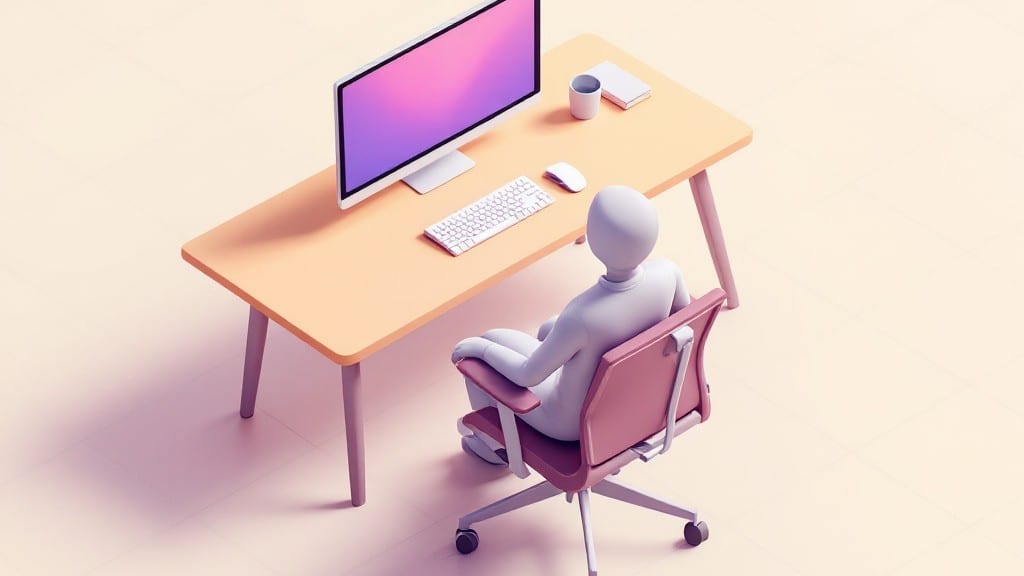
Setting up an ergonomic workstation isn’t about buying fancy gear—it’s about aligning your body with how you actually work. ✨ I spent years hunched over my uncle’s basement desk with a monitor at eye level, and the difference in my back after that first adjustment was like flipping a switch.
The key isn’t perfection; it’s making small, intentional tweaks that add up to comfort without breaking your workflow.
Start with the big three: monitor height (top of the screen at eye level), keyboard position (elbows at 90 degrees, wrists straight), and chair support (feet flat, back slightly reclined).
Software plays a role too—adjust text size, enable dark mode to cut blue light, and set reminders for 20-second stretch breaks every hour. The tools matter less than the setup; even a $20 chair can work if you adjust it right.
You’ll notice the difference immediately: less shoulder tension, no more wrist aches after typing, and the ability to work for hours without fatigue. The 15-minute setup isn’t about speed—it’s about reclaiming the comfort you didn’t know you’d lost.
Most people skip the chair adjustments or ignore screen glare; those are the details that make the difference between a “good enough” desk and one that actually supports you.
Pro tip: Use a free app like Stretchly or f.lux to automate reminders and lighting adjustments—no extra hardware needed. And if you’re working on a laptop, grab a cheap stand or stack of books; that single move changes everything.
The goal isn’t to turn your desk into a medical clinic, but to make it work with your body, not against it.
📚 In This Guide
- What you need
- Instructions
- Tips and common mistakes
- Wrapping up and next steps
What you need
- ● Adjustable chair – Look for one with lumbar support, armrests, and height adjustability (e.g., Herman Miller Aeron or budget-friendly IKEA Markus).
- ● Desk – Height-adjustable (30-48 inches) or a standard desk (28-30 inches) with a monitor riser or lap desk for laptops.
- ○ Monitor – 19-24 inches from your eyes, with the top at or slightly below eye level. A second monitor (optional but ideal) for dual setup.
- ● Keyboard & mouse – Ergonomic or at least wrist-friendly (e.g., Logitech MX Master or Microsoft Sculpt).
- ● Footrest – Adjustable or a sturdy stack of books (10-12 inches high) if needed.
- ● Anti-fatigue mat – For standing desks or extra comfort (e.g., Gorilla Grip).
- ● Laptop stand – Raises your screen to eye level (e.g., Amazon Basics or Twelve South).
- ● Monitor arm – For flexible positioning (e.g., Ergotron).
- ● Blue light glasses – Reduces eye strain (e.g., Gunnar or Uvex).
- ● Document holder – Keeps papers at eye level (e.g., clip-on stand).
- ● Desk organizer – For cables and small items (e.g., IKEA SKÅDIS).
Step-by-Step instructions for creating a pain-free ergonomic workstation
Here's how I set up my workspace—adjustable, supportive, and ready in under 15 minutes.
🔧 Step 1: Position Your Monitor at Eye Level
The monitor should sit about 20-28 inches from your eyes, with the top edge aligned to your natural eye level. I always use a sturdy monitor stand or stack of books to elevate it—this prevents neck strain during long sessions. If you're using a laptop, consider a laptop stand or external monitor to avoid slouching.
Adjust the chair height so your feet rest flat on the floor, knees at a 90-degree angle. If your feet don't reach, use a footrest or stack of books to bring them up. This keeps your spine naturally aligned and reduces lower back pressure. Test by sitting back and checking if your lower back maintains contact with the chair.
🖥️ Step 2: Optimize Keyboard and Mouse Placement
Place your keyboard directly in front of the monitor, with the edge about 2-3 inches from the front of the desk. Your wrists should hover naturally over the keys without bending—this prevents repetitive strain injuries. If your wrists bend downward, prop up the keyboard with a wrist rest or gently tilt it upward.
Position your mouse at the same height as the keyboard, close enough to avoid reaching. Use an ergonomic mouse if you spend hours clicking—it reduces thumb and wrist fatigue. For trackballs or vertical mice, ensure your forearm stays straight while moving the cursor. I like to keep both devices within a 12-inch reach to minimize shoulder tension.
⌨️ Step 3: Adjust Chair and Desk for Neutral Posture
Your chair should support your lower back with a lumbar cushion or adjustable backrest. Sit all the way back until your lower back touches the support—this maintains the natural inward curve of your spine. If your chair lacks lumbar support, roll up a small towel and place it behind your lower back for temporary relief.
Armrests should allow your shoulders to relax, with elbows at 90 degrees and forearms parallel to the floor. If armrests are too high, lower them or use a cushion to bridge the gap. Keep your shoulders relaxed and avoid hunching forward—this is where most desk-related pain starts. I set a timer to check my posture every 30 minutes to catch slouching early.
💡 Step 4: Add Supportive Accessories
If your desk is too high, use a footrest to keep your feet flat and knees at hip level. For document work, position reference materials at the same height as your monitor to avoid neck twisting. I keep a small stand for my tablet or notebook to avoid awkward angles. A headset with a microphone can also reduce neck strain if you take frequent calls.
Add a wrist rest under your hands when typing, but avoid resting your wrists on it while stationary—this can cause compression. For extra comfort, consider an anti-fatigue mat if you stand frequently. I also keep a small water bottle within arm's reach to avoid unnecessary movement. The goal is to minimize unnecessary stretching or reaching during your workday.
⏰ Step 5: Test and Fine-Tune Your Setup
Spend 5 minutes working at your new setup, then check for discomfort. If your shoulders feel tense, adjust the monitor height or chair position slightly. If your wrists ache, reposition the keyboard or add a wrist rest. The setup should feel effortless—if any part feels strained, tweak it until it doesn’t.
Take a 2-minute break to stretch your neck, shoulders, and wrists. Stand up, roll your shoulders back, and shake out your hands. This resets your posture and helps identify any lingering issues. Over time, you’ll notice less fatigue and more focus—this is your body thanking you for the adjustments.
Tips & tricks for perfect ergonomic workstation setup
Setting up your workspace right makes all the difference—here's how to avoid the most common posture pitfalls while keeping it simple.
Monitor Height Matters: That 20-28 inch distance from your eyes isn't just arbitrary—it creates the perfect viewing angle to prevent neck strain. I learned this the hard way after spending weeks with a stiff neck from looking down at my laptop. Pro tip: Use the top of your monitor as your reference point—it should align with your natural eye level when sitting straight. If you're still unsure, try this: Stand up, close one eye, and look straight ahead—your monitor's top edge should match that line.
Chair Height is Critical: The 90-degree angle for your knees isn't just about comfort—it's about circulation. I used to ignore this and end up with numb legs after just an hour. Here's the real test: Sit back in your chair and check if there's a natural gap between your lower back and the chair. If not, you need more lumbar support. For the footrest, remember that flat feet and knees at hip level are non-negotiable for long-term comfort.
Keyboard and Mouse Alignment: That 2-3 inch gap from your keyboard to the desk edge prevents shoulder tension, but here's what nobody tells you—your mouse should be positioned so your forearm stays straight when clicking. I started using a vertical mouse after developing tendonitis, and it changed everything. Keep both devices within that 12-inch reach to avoid that constant shoulder hunch that sneaks up on you.
Test Your Setup Properly: Don't skip that 5-minute test in Step 5! I've seen people set up their workstations perfectly but then forget to actually test them. Set a timer for 30 minutes (like in Step 3) and work normally. If you notice any discomfort, that's your body telling you something needs adjustment. The 2-minute stretch break is just as important—it's the reset button for your posture throughout the day.
Pro Tips for Set Up Ergonomic Workstation
- Setting up your workspace right makes all the difference—here's how to avoid the most common posture pitfalls while keeping it simple.
- Monitor Height Matters: That 20-28 inch distance from your eyes isn't just arbitrary—it creates the perfect viewing angle to prevent neck strain.
- Chair Height is Critical: The 90-degree angle for your knees isn't just about comfort—it's about circulation.
Frequently asked questions
Got questions about creating your dream ergonomic workstation? You’re not alone—let’s tackle the most common ones to make your setup smoother than a freshly ironed shirt!
How much does an ergonomic workstation setup cost?
Costs vary widely! A basic setup (adjustable chair, monitor arm, and keyboard tray) can start around $100–$300. High-end setups with premium chairs, dual monitors, and ergonomic accessories may run $500–$1,500+. Start with essentials like a lumbar support cushion ($20–$50) or a standing desk converter ($150–$300) to test what works for you before investing heavily.
How long does it take to adjust to an ergonomic workstation?
Most people notice improvements within 1–2 weeks, but full adaptation can take 4–6 weeks. Your body needs time to adjust to new posture habits. Start with 20–30 minute sessions daily and gradually increase. Pro tip: Stretch your neck, shoulders, and wrists every hour to ease the transition!
What if I don’t have space for a full ergonomic setup?
No problem! Prioritize three key adjustments:
- Chair height: Feet flat, knees at 90°, and elbows at desk height.
- Monitor position: Top of screen at eye level, ~20–30 inches away.
- Keyboard/wrist support: Use a lap desk or stack books under your wrists if needed.
Can I use a laptop ergonomically without extra equipment?
Here’s how:
- Elevate your laptop with a book or box to eye-level height.
- Use an external keyboard and mouse (even a cheap wireless set helps!).
- Add a second monitor if possible to reduce neck strain.
My neck/wrists still hurt after setup—what’s wrong?
Don’t panic! Common culprits:
- Poor habits: Slouching, hunching over, or gripping the mouse too tightly.
- Incorrect adjustments: Double-check monitor height and chair support.
- Overuse: Take micro-breaks every 30 minutes to stretch or walk.
Wrapping up and next steps
Creating an ergonomic workstation doesn’t have to be complicated—just intentional! By prioritizing proper chair height, monitor alignment, keyboard positioning, and movement breaks, you’ve taken the first step toward a pain-free, productive workspace. Small adjustments make a big difference over time, so don’t wait to feel the benefits!
Ready to level up? Start by testing your setup for just 15 minutes a day—track how your body feels and tweak as needed. Your future self will thank you! 💪