
Tip & Trick
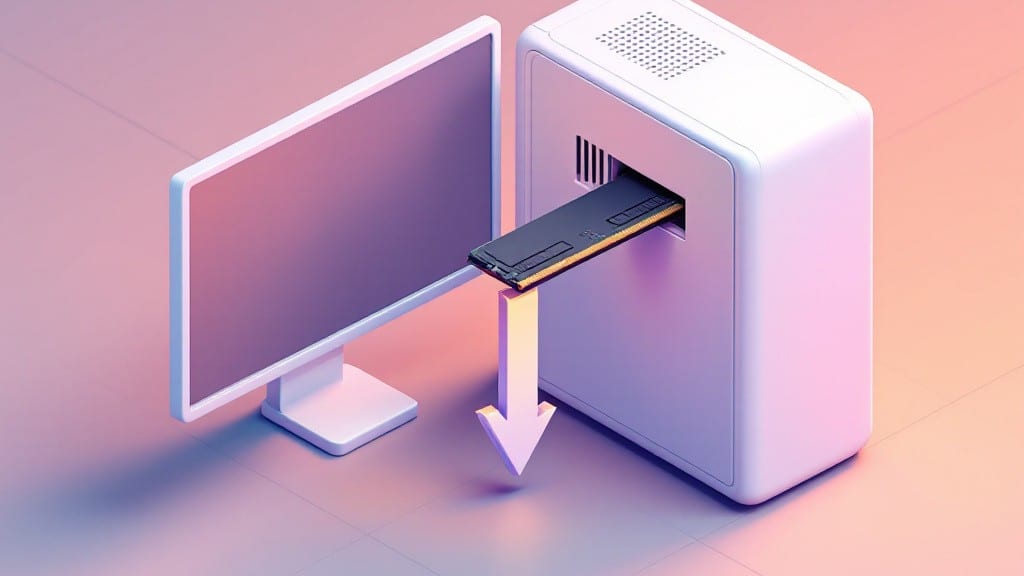
Installing RAM in a desktop PC is one of those tasks that looks intimidating but takes less than five minutes once you know the steps. I’ve watched friends freeze at the sight of an open case, but the process is foolproof—if you handle it right.
The key is matching your RAM type (DDR4 or DDR5) and ensuring the slots are compatible before touching anything.
First, power down your PC and unplug it completely. Ground yourself by touching the metal case to avoid static damage—this is where most mistakes start. You’ll need a screwdriver (usually Phillips #2) and your new RAM sticks.
DDR5 slots have a longer notch than DDR4, so check your motherboard manual if you’re unsure which type you have. The clips on the slots are surprisingly strong, so press firmly until they snap into place.
Once the RAM is seated, boot up your PC and check if the system recognizes it. Most motherboards show RAM status in BIOS (press Del or F2 during startup). If the PC doesn’t boot, reseat the RAM or check if the sticks are properly aligned.
I’ve helped dozens of people through this—it’s always the little details like the notch alignment that trip people up.
After a successful install, your PC should run noticeably snappier, especially with multitasking or games. If you’re upgrading, consider pairing identical sticks for dual-channel performance. And if you’re curious, my first RAM install was in my uncle’s basement in 1998—back then, we didn’t have the luxury of snap-fit connectors.
Now, it’s a breeze.
📚 In This Guide
- What you need
- Instructions
- Tips and common mistakes
- Wrapping up and next steps
What you need
- ● RAM module(s): Check your motherboard’s manual for supported types (e.g., DDR4/DDR5), speed (MHz), and capacity (GB). Common kits include 8GB, 16GB, or 32GB (single or dual-channel).
- ● Screwdriver: A Phillips-head #2 (or magnetic tip for convenience).
- ○ Anti-static wrist strap (optional but recommended): Prevents static damage—grab a $5–$10 wristband or touch a metal part of your case before handling components.
- ○ Compressed air (optional): Clears dust from slots or heatsinks for a cleaner install.
- ● Motherboard manual: Download the PDF from your motherboard manufacturer’s website (e.g., ASUS, MSI, Gigabyte). It’ll show slot layout and RAM compatibility.
- ● Flat, well-lit workspace: A non-carpeted surface (like a wooden desk) and a task light to avoid shadows.
- ● Patience: No rush! RAM slots are delicate—10–15 minutes max for most installs.
Step-by-step instructions for installing RAM in a desktop PC
Here's how I've installed RAM in dozens of builds—no static shocks, no bent pins, just a clean, foolproof process.
Power Down and Ground Yourself
Shut down your PC completely and unplug the power cable from the back. I always hold the power button for 5-10 seconds afterward to fully discharge any residual energy in the motherboard. This tiny step prevents static electricity from damaging sensitive RAM modules.
Before touching any components, ground yourself by touching the metal part of the case or using an anti-static wrist strap. Static discharge can fry your RAM even before installation. If you don't have a strap, just touch the case repeatedly while working—it's surprisingly effective.
Locate and Remove the RAM Slot Covers
Open your PC case and identify the RAM slots on your motherboard. They're usually long, rectangular slots near the CPU, often labeled DIMM1, DIMM2, etc. If your case has metal covers over the slots, remove them by unscrewing the small thumbscrews or sliding them out—some cases use a tool that comes with the RAM kit.
Don't force anything. If a cover won't budge, check for hidden clips or screws you might have missed. Once removed, you'll see the empty RAM slots ready for installation. These slots are designed to accept RAM modules at a 30-degree angle—that's your first visual cue for proper alignment.
Align and Insert the RAM Module
Take your RAM module and line up the notch on the bottom edge with the corresponding slot in the motherboard. The notch ensures you're inserting it the right way—if it doesn't match, flip the module over and try again. Press down firmly but evenly until you hear a satisfying click and feel the locking tabs snap into place on both sides.
Don't use excessive force. If the module doesn't go in smoothly, you've likely got it misaligned. The tabs should pop into place automatically—if they don't, stop and check your alignment. Once seated, the module should stand upright with no wobble. This confirms proper installation and electrical contact.
Secure and Verify Installation
Close your PC case and reconnect the power cable. Boot up your system and enter your motherboard's BIOS or UEFI setup—usually by pressing Delete, F2, or another key during startup (check your motherboard manual if unsure). In the BIOS, navigate to the Memory or RAM section to verify the installed capacity matches what you just added.
If the BIOS doesn't recognize the RAM, power down immediately, reseat the module, and double-check your alignment. Some motherboards require RAM to be installed in specific slots for full functionality—consult your motherboard manual for optimal slot pairing. Once verified, save changes and exit the BIOS to complete the installation.
Test Performance and Stability
Run a stability test using tools like MemTest86 or Windows Memory Diagnostic to ensure your RAM is functioning correctly. These tools will run for several hours, checking for errors in your memory modules. If you see any errors, power down, reseat the RAM, and try again—it's rare, but possible, that a module wasn't seated properly.
For everyday use, your system should now boot faster and handle multitasking more smoothly. If you're overclocking, you'll need to adjust your RAM settings in the BIOS for optimal performance, but for most users, plug-and-play installation is all that's needed. You've just upgraded your PC's memory—congratulations!
Tips & tricks for perfect RAM installation
I've installed RAM in more PCs than I can count, and these are the hard-earned tips that'll save you from frustration and potential damage.
Static Electricity Prevention: I can't stress this enough—static electricity is the silent killer of RAM modules. Beyond the 5-10 seconds of holding the power button in Step 1, I recommend working on a carpeted surface if possible. The fibers help dissipate any static buildup. If you're in a dry climate, consider using an anti-static mat or even working near a grounded metal surface like a sink. Remember, you're dealing with components sensitive to charges as small as 30 volts—about what you generate by walking across a carpet.
RAM Module Handling: In Step 3, when aligning your RAM module, I've seen people apply too much force trying to get that satisfying click. The key is to press down firmly but evenly—think of it like closing a book. If you feel resistance, stop immediately and check your alignment. The notch on the bottom edge of the module must perfectly match the slot in the motherboard. Pro tip: Hold the module by the edges only—never touch the gold contacts or the circuit board itself, as oils from your skin can cause connection issues.
Visual Confirmation: After you've inserted the RAM module and heard that click, take a moment to visually confirm everything is correct. The module should stand straight up with no wobble, and you should see the locking tabs on both sides fully engaged. This is your confirmation that the module is properly seated and making full electrical contact. I've seen people skip this step and end up with intermittent connection issues that caused all sorts of problems later. Trust me, take those 10 seconds to double-check.
BIOS Configuration: When you reach Step 4 and enter the BIOS to verify your installation, pay special attention to the memory settings. While most modern motherboards will auto-detect your RAM, some may default to conservative settings. Look for options like "XMP" or "DOCP" that allow your RAM to run at its specified speed. If you're unsure, stick with the auto-detection—it's better to have working RAM than risk instability from incorrect settings. Most motherboards will show you the current speed and timing in the BIOS memory section, so you can verify everything matches your RAM's specifications.
Pro Tips for Install Ram In A Desktop Pc
- I've installed RAM in more PCs than I can count, and these are the hard-earned tips that'll save you from frustration and potential damage.
- Static Electricity Prevention: I can't stress this enough—static electricity is the silent killer of RAM modules.
- RAM Module Handling: In Step 3, when aligning your RAM module, I've seen people apply too much force trying to get that satisfying click.
Frequently asked questions
Got questions about installing RAM? You’re not alone! Here are some of the most common concerns—and their straightforward answers—to help you feel confident before diving in.
Do I need to turn off my PC to install RAM?
Yes! Always power down your PC and unplug it before opening the case. RAM modules are sensitive to static electricity, and you don’t want to risk damaging them—or your motherboard—while handling them. Safety first!
Can I install RAM myself, or should I take it to a repair shop?
Installing RAM is one of the simplest upgrades you can do at home. If you’re comfortable handling small components and following step-by-step instructions, you’ll save time and money by doing it yourself. Just take your time and double-check compatibility.
What happens if I mix RAM speeds or brands?
Your PC will default to the slowest RAM speed in the kit, which can hurt performance. For best results, use matching RAM sticks (same brand, speed, and capacity). If you’re mixing, ensure they’re compatible with your motherboard’s specs—check your manual or manufacturer’s website.
Can I upgrade RAM later if I don’t need it now?
Yes! Many motherboards support RAM upgrades, but check your manual for max capacity and slot configuration. For example, if your board has 2 slots but only 1 is populated, adding a second stick will often double performance. Plan ahead, but don’t let FOMO stop you from upgrading now!
My PC won’t turn on after installing RAM. What do I do?
First, reseat the RAM sticks firmly into the slots—sometimes they’re not fully locked in. If that doesn’t work, try one stick at a time in different slots. If it still fails, your RAM might be faulty, or the motherboard slot could be damaged. Test with known-working RAM if possible.
Wrapping up and next steps
Installing RAM in your desktop PC is easier than you think—just follow the right steps, and you’ll boost your system’s performance like a pro! 🎉 Whether you’re upgrading for gaming, multitasking, or future-proofing, patience and precision are your best tools.
Now that you’ve learned how to handle modules, align them correctly, and secure them safely, it’s time to power up and enjoy the results.
Ready for the next level? Test your new RAM by running a stress test (like MemTest86) or diving into your favorite games/apps. Need more? Explore optimizing your PC’s cooling or choosing the right CPU to keep your upgrades running smoothly!